Earlier this year, one of my monitors started behaving strangely each time it was turned on the first time for the day. The image would flicker on and off, first very slow, maybe twice a second, then faster and faster still until it displayed a permanent and stable image.
Over time, things got worse. First it would take just a few seconds, then two months later, the screen would stay black for minutes before the now familiar flickering started and the display settled. This morning, the display just remained black.
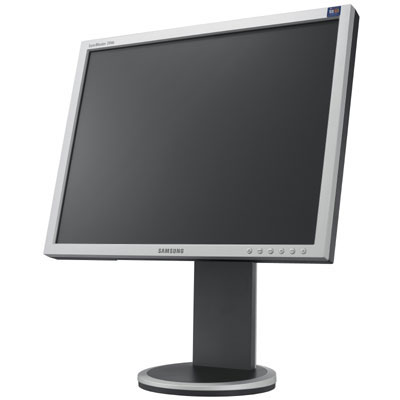
Some googling revealed the likely cause: bad capacitors. Between 1999 and 2007, many electronic parts were sold with bad capacitors because, at least that’s a popular story, one Taiwanese company had obtained the knowledge to build electrolytic capacitors via espionage, but the informations were incomplete and the electrolyte was missing and certain agent that prevented the hydrogen from escaping.
Whatever the reason, my TFT’s production date falls into the problematic range and symptoms are similar to things other people reported. So I went ahead and tried to take a look at the thing, documenting each step with my camera.
First I left the TFT alone for 12 hours, hoping that it would have completely discharged any electricity during that time. I then unscrewed the two screws at the top of the holding arm. The holding arm came off very easily:
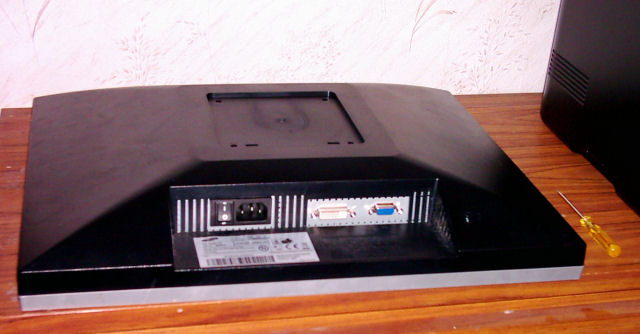
Removing the frame was not as easy because it had been clipped onto the back and not screwed. I took a large screwdriver and went around the entire case, popping the frame off its clips (which stayed intact, so I probably won’t have to glue it together if I succeed).
The buttons at the bottom of the frame were connected via a small cable. I noticed it right when I wanted to put the detached frame away.
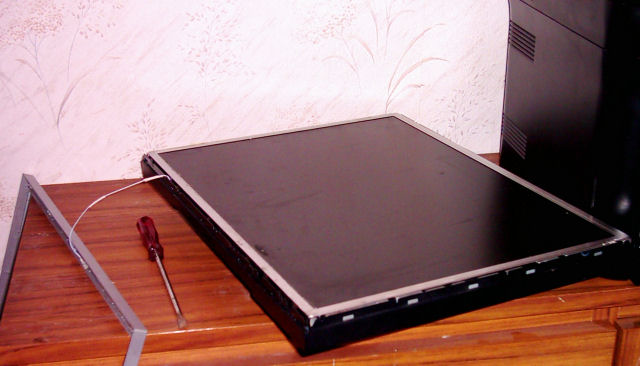
The cable could be unplugged from the TFT itself on the right side:

There were 2 screws on the left side, 2 screws on the right side and another 2 near the DVI and power connectors that I had to unscrew in order to take off the back casing:
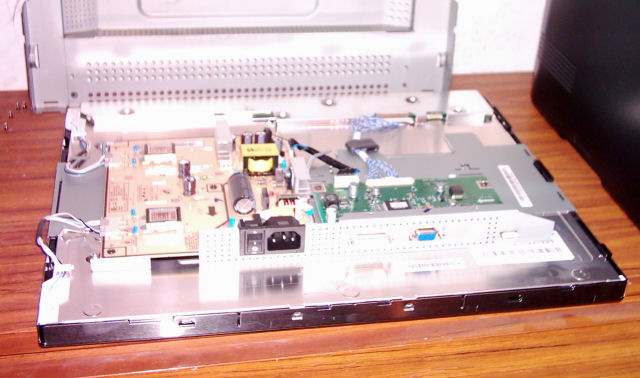
For there on, I could already spot and capacitors on the unit’s power supply board and – surprise! – they had blasted their caps:
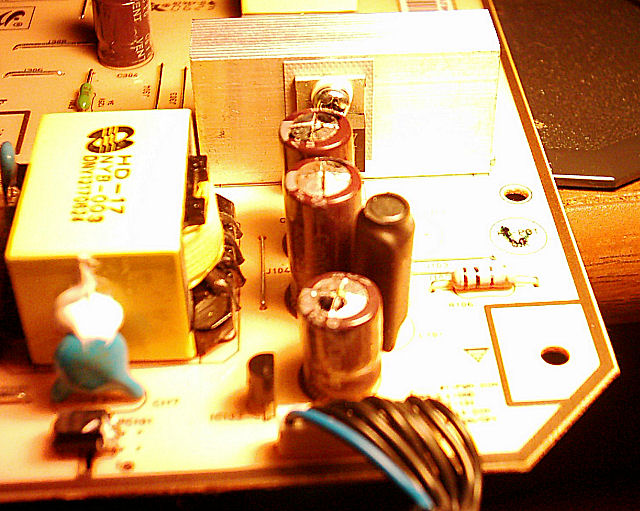
So that’s three bad capacitors. After unsoldering all three, I checked their specifications (always printed on the side of the capacitors):
2x 820 µF, 25 V
1x 330 µF, 25 V
Some advice about unsoldering: you’ll need a soldering iron (of course) and I recommend either a desoldering pump or some braided solder wick. The desoldering pump is a bit harder to use, but it can be use an unlimited number of times. If the parts don’t come off just pull from the other side while liquefying the solder.
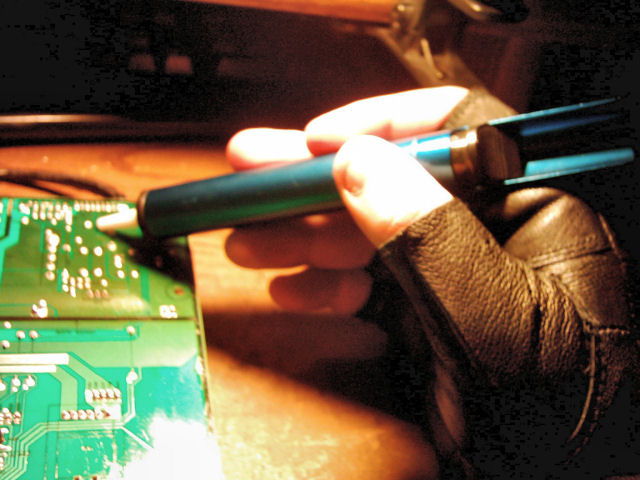
That’s my old desoldering pump from the 90s. Real metal :)
That’s it for now. I ordered a set of 2 1000 µF capacitors and a 330 µF capacitor. When they arrive, I’ll write a follow-up post and report back whether I was able to rescue my monitor.